Hard Disk Details(8)
Slide 4259: Head Replacement Section
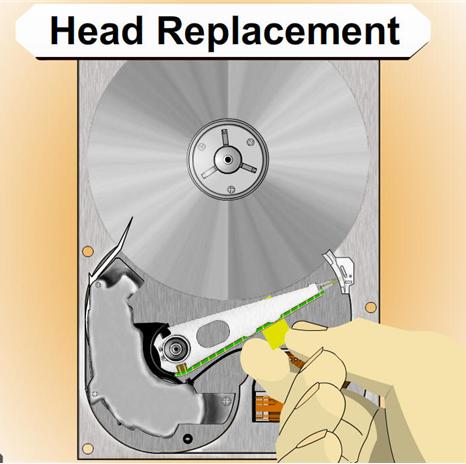
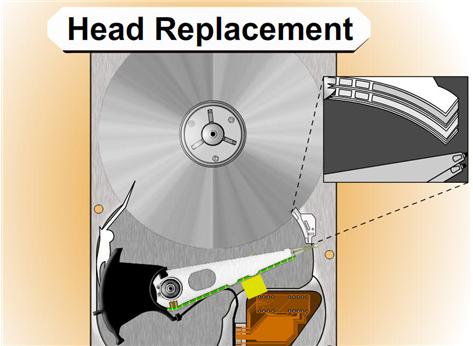
This is the only section from last year I kept and it is because this is directly related to fixing this click of death problem.
NOTE: If there is only one platter it might be easier to move the platter than to move the assembly. You have to make that choice.
List of items needed:
The first step is to get a hard drive as close to identical as the bad drive you have that is a working drive. At the bottom of this paper you will find help about matching hard drives and serial numbers.
You need a clean area to work on with as little dust floating around as possible.
You will need about 3 hours to do this carefully
A screwdriver set with T3-T8. These are my favorite http://www.wihatools.com/200seri/278serie.htm
Post-it Notes
Other tools depending on the drive
Patience
Process for Head Replacement:
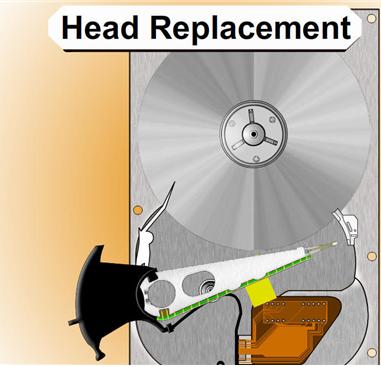
1. You will need to disassemble the heads and other components from the drive to clear the room for the head and components.
2. Disassemble the new hard drive, and carefully use folded paper to move the heads apart and to keep them apart as much as possible.
NOTE: If you are going to move the heads off of a drive platter you should always spin the motor in the direction away from the heads and the arm while you are moving the actuator arm to get the heads off. Move with care.
If you are storing the heads or going to put them down, you can try cutting sections of a drinking straw around the head itself. If the drive has a ramp it is very useful to help line up the heads to take them off and to put them back on.
*** There is often a screw under the assembly of the actuator arm that needs to be removed to move the heads.
3. Carefully lift the assembly out of the drive and move it to the bad drive and reassemble. It will take about two hours to assemble correctly if you take your time. Do everything you can to get the heads lined up again.
NOTE: It is helpful to fold a piece of post-it notes in a V shape and to make the V towards the platters and the heads on each side of the V. You can get the paper to slide onto the platter and turn the platters with a screwdriver while you gently move the heads back into place.
You must get them lined up and review it before you turn the drive back on or the heads may slide into place and hit the edge of the platter ripping them off and scratching the platter. It is good to practice with another drive you do not care about before doing this.


