
Disk Utility is a macOS built-in application for managing internal and external storage devices. It provides disk formatting, partitioning, RAID setup, and the First Aid feature for verifying and repairing disk errors.
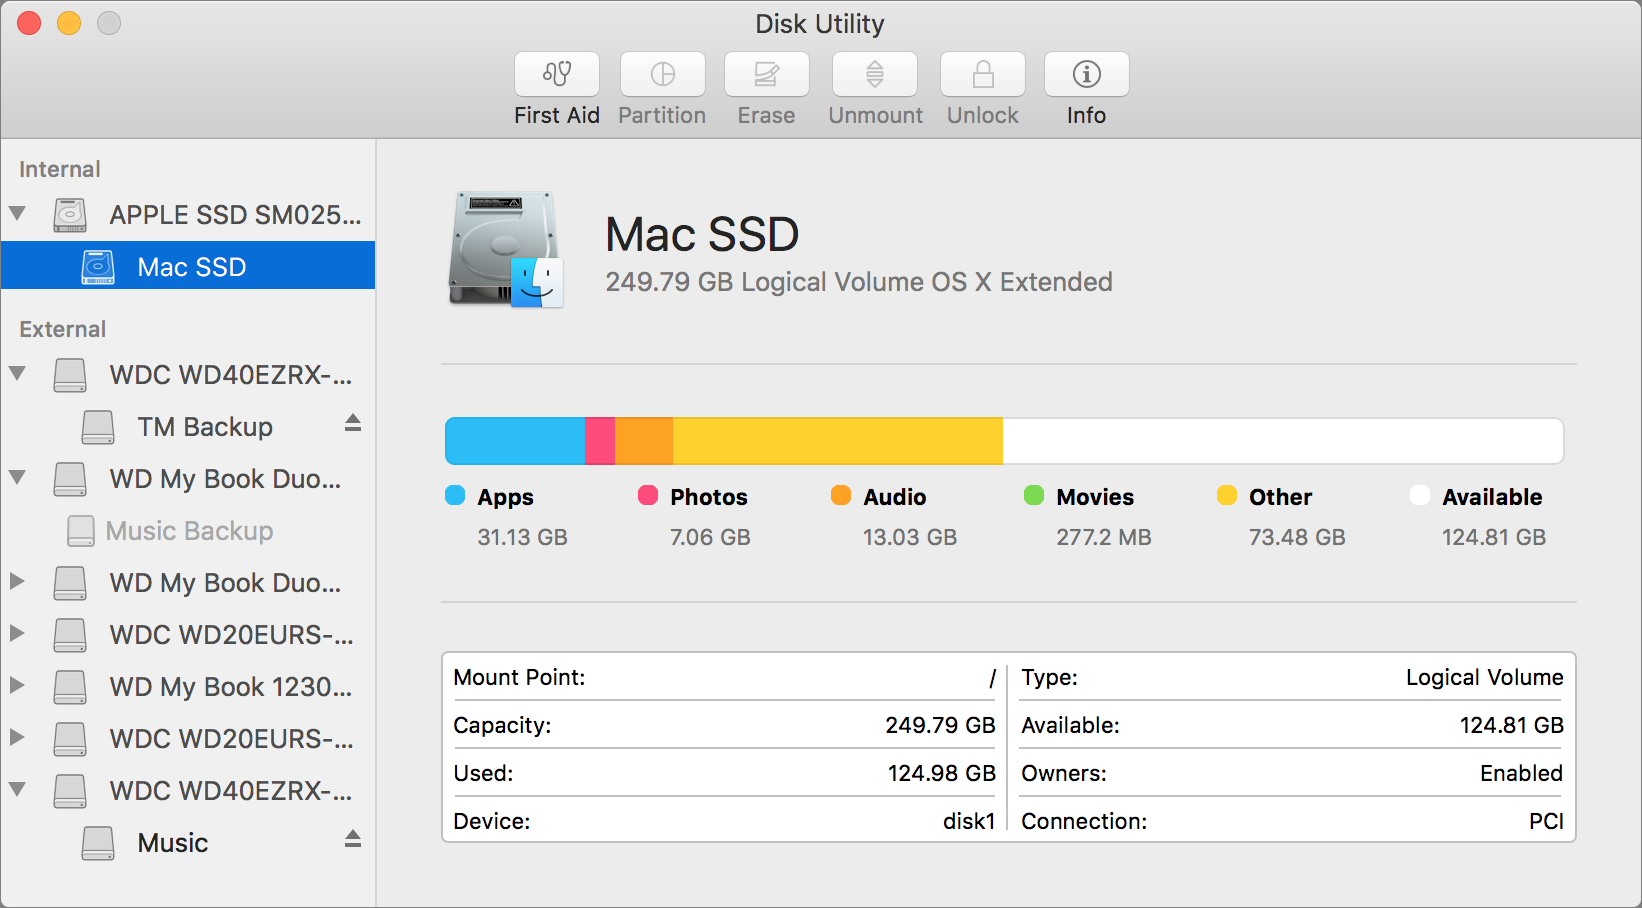
Key Functions
| Function | Description | Usage |
|---|---|---|
| First Aid | Verifies and repairs file system errors, directory corruption, and metadata issues. | Select a volume → click First Aid → Run. |
| Erase | Formats a disk or volume with a chosen file system (APFS, Mac OS Extended, exFAT, MS-DOS). | Select a disk/volume → click Erase → choose format and scheme. |
| Partition | Creates, resizes, or deletes partitions on a disk. | Select a disk → click Partition → adjust layout using the pie chart. |
| RAID | Sets up software RAID sets (mirror, stripe, concatenated). | File menu → RAID Assistant → follow steps. |
| Restore | Clones one volume to another (disk-to-disk copy). | Select source volume → click Restore → choose destination. |
How to Use Disk Utility
Opening Disk Utility
- Finder → Go → Utilities → double-click Disk Utility.
- Or use Spotlight (Cmd+Space) and type “Disk Utility”.
View Options
- View → Show All Devices: Shows physical disks (containers) and their volumes (recommended for advanced operations).
- View → Show Only Volumes: Shows only logical volumes (simpler view).
Common Operations
- To check a disk: Select it → click First Aid → Run → if errors found, click Repair.
- To format a disk: Select the physical disk (not just the volume) → click Erase → name it → choose format (APFS for SSDs, Mac OS Extended for HDDs) → Erase.
- To partition: Select physical disk → click Partition → click + to add partitions → adjust sizes → Apply.
- To get info: Select disk/volume → click Info icon (i) to see details like format, capacity, and SMART status.
Important Notes
- Startup disk: To run First Aid on the startup disk, you must boot into Recovery Mode (Cmd+R at startup) or use Terminal
diskutilcommands. - Erase vs. Delete: Erasing a disk permanently removes all data; deleting a volume only removes its reference.
- APFS containers: On APFS disks, volumes share free space within a container; partition operations differ from older HFS+.
- SMART status: Check the Info panel for “S.M.A.R.T. Status” – if it says “Failing”, back up immediately and replace the drive.
- Unmounting: To safely remove an external drive, click the eject icon in Disk Utility or Finder before physically disconnecting.
- Startup disk: To run First Aid on the startup disk, you must boot into Recovery Mode (Cmd+R at startup) or use Terminal